Seamless Networking Experience: G Network Setup for Windows 10 Devices
In today's digital age, establishing a reliable and secure network connection between Windows 10 devices is crucial for productivity and collaboration. The G Network Setup for Windows 10 devices offers a seamless and efficient way to connect devices, share files and printers, and ensure uninterrupted access to resources. In this article, we will guide you through the step-by-step process of setting up the G Network Setup for Windows 10 devices.
Why G Network Setup for Windows 10 Devices?
The G Network Setup for Windows 10 devices minimizes operational friction and fosters a collaborative environment, whether for a small home network or a small business setup. This guide aims to provide clear and concise instructions to help you establish a reliable connection between your Windows 10 and Windows 11 devices efficiently and securely.
Requirements for Setting Up G Network Setup for Windows 10 Devices
- Modem: A high-speed modem is essential for establishing a stable internet connection.
- Router: A wireless router is necessary for creating a network and sharing internet connection between devices.
- Ethernet Cables: Ensure that you have sufficient Ethernet cables to connect devices to the router and modem.
- Windows 10 Devices: Ensure that all devices are running Windows 10 and are compatible with the G Network Setup.
Step-by-Step G Network Setup for Windows 10 Devices
Step 1: Connect Devices to the Network
Ensure that all devices you want to connect to the network are connected to the same router or switch. This includes computers, laptops, tablets, printers, and other peripherals.
Step 2: Set Up Your Network Connection in Windows 10
To set up your network connection in Windows 10, follow these instructions:
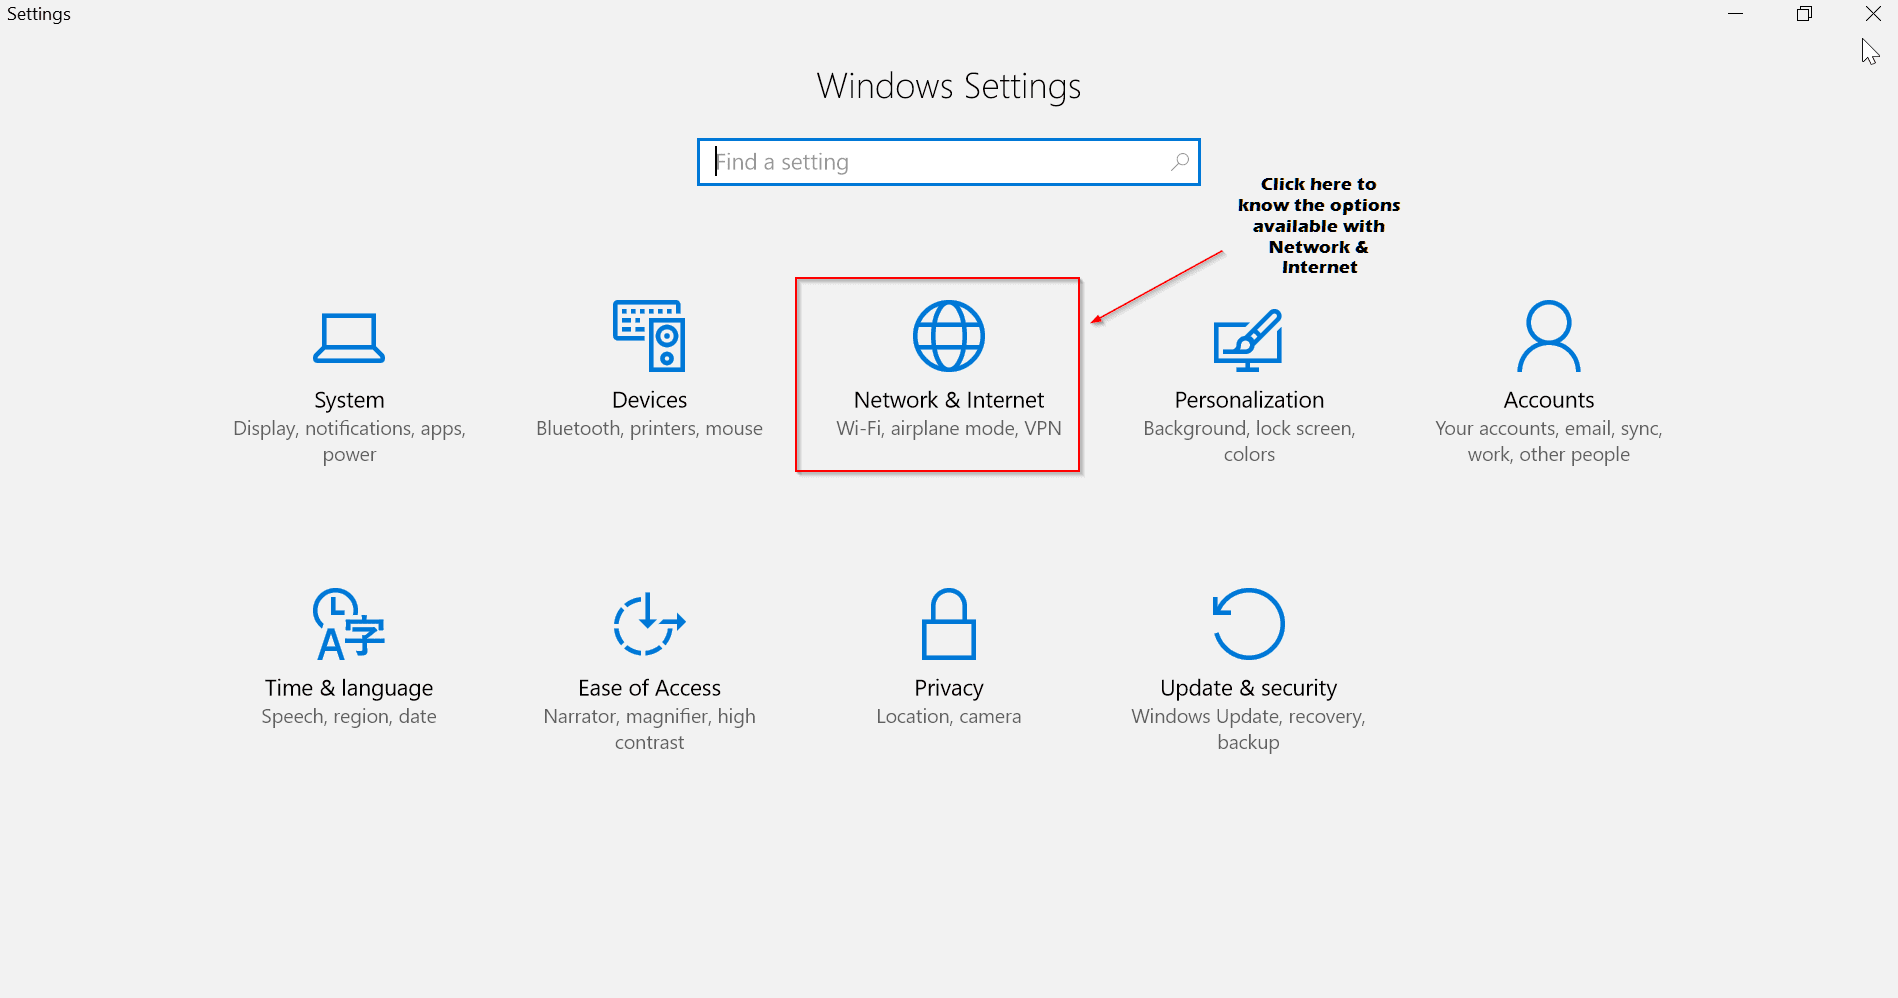
- Open the Settings app on your Windows 10 device.
- Click on "Network & internet" and select "Wi-Fi" or "Ethernet" depending on your connection type.
- Click on "Network settings" and select "Advanced options."
- Under "More settings," click on "Network and Sharing Center."
- Click on "Change adapter settings" and select the network connection you want to use.
- Right-click on the network connection and select "Properties."
- Under "Networking" tab, click on "Internet Protocol Version 4 (TCP/IPv4)" and select "Properties."
- Enter the IP address, subnet mask, default gateway, and DNS server addresses.
Step 3: Share Files and Printers
Once you have established a network connection, you can share files and printers between devices. To do this:
- Open the File Explorer on your Windows 10 device.
- Right-click on the folder or printer you want to share and select "Properties."
- Under "Sharing" tab, click on "Share" and select the devices you want to share with.
Step 4: Secure Your Network
Security is a critical aspect of network setup. To secure your network, ensure that you have enabled WPA2 encryption and set a strong password. You can also enable firewalls and antivirus software to protect your devices from potential threats.
Conclusion
Setting up the G Network Setup for Windows 10 devices offers a seamless and efficient way to connect devices, share files and printers, and ensure uninterrupted access to resources. By following these step-by-step instructions, you can establish a reliable and secure network connection between your Windows 10 and Windows 11 devices.
Additional Tips and Resources
For more information on setting up network connections, sharing files and printers, and securing your network, refer to the following resources:
- Microsoft Support: https://support.microsoft.com/en-us
- Windows 10 Documentation: https://docs.microsoft.com/en-us/windows/windows-10
- Nmap: https://nmap.org


:max_bytes(150000):strip_icc()/002-how-to-reset-network-settings-in-windows-10-78fbdd9489a34248aae1de0b74133348.jpg "Brother Drivers: Info & Downloads - Printer Drivers & More | Brother")
 (VIDEO)")

