Setting Up G Wireless Network on Mac: A Step-by-Step Guide
Connecting to a Wi-Fi network on your Mac is a straightforward process that requires a few simple steps. However, if you're new to setting up Wi-Fi networks on your Mac, it can be a bit overwhelming. In this article, we'll guide you through the process of setting up a wireless network on your Mac, troubleshoot common issues, and manage your wireless connections efficiently.
Step 1: Ensure Your Mac's Wi-Fi is Turned On
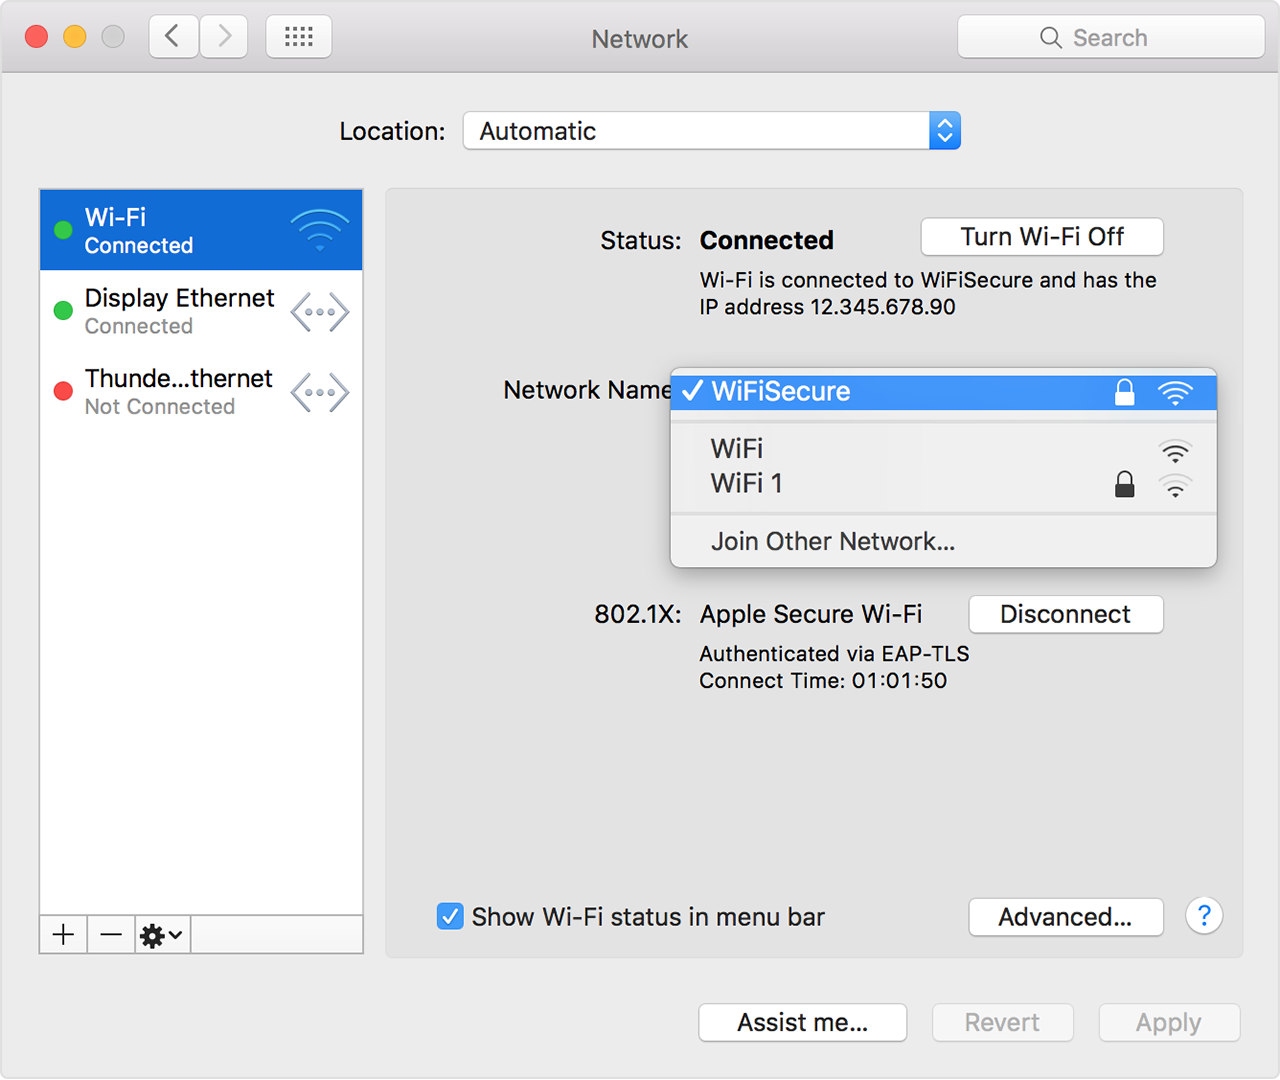
The first step in setting up a wireless network on your Mac is to ensure that your Mac's Wi-Fi is turned on. You can do this by going to System Preferences > Network and selecting Wi-Fi. Make sure that Wi-Fi is turned on and select the network you want to connect to.
Step 2: Connect to the Wi-Fi Network
Once you've selected the Wi-Fi network you want to connect to, your Mac will automatically connect to it. If prompted, enter the network password to complete the connection process.
Step 3: Configure Your Wi-Fi Settings
After you've connected to the Wi-Fi network, you can configure your Wi-Fi settings to suit your needs. You can do this by going to System Preferences > Network and selecting the Wi-Fi network you're connected to. From here, you can customize your Wi-Fi settings, such as changing the network name or updating the Wi-Fi password.
Step 4: Troubleshoot Common Issues
Even with the best Wi-Fi settings, issues can still arise. If you're experiencing connection issues or dropped connections, there are a few steps you can take to troubleshoot the problem. For example, you can restart your Mac and Wi-Fi router, move closer to the router to improve the signal strength, or check for Wi-Fi interference from other devices or networks.
Step 5: Manage Your Wireless Connections
Managing your wireless connections is essential to ensuring a smooth and uninterrupted internet experience. You can do this by going to System Preferences > Network and selecting the Wi-Fi network you're connected to. From here, you can view the available networks, manage the settings to join networks and nearby hotspots, and configure your Wi-Fi settings to suit your needs.
Common Tips and Tricks
- Make sure you're using the latest version of macOS to ensure compatibility with the latest Wi-Fi standards.
- Restart your Mac and Wi-Fi router regularly to improve performance and prevent dropped connections.
- Move closer to the Wi-Fi router to improve signal strength and reduce interference from other devices or networks.
- Use a Wi-Fi analyzer to identify potential issues with your Wi-Fi network.
- Reset your network settings in System Preferences > Network > Advanced > TCP/IP for advanced users.
Conclusion
Setting up a wireless network on your Mac is a simple process that requires a few basic steps. By following these steps, you can connect to a Wi-Fi network, troubleshoot common issues, and manage your wireless connections efficiently. Remember to stay up-to-date with the latest macOS updates and use the latest Wi-Fi standards to ensure a smooth and uninterrupted internet experience.
Additional Resources
- Unifi OS is pre-installed on UniFi Consoles, streamlining the setup process so you can get your network up and running quickly.
- Boingo designs and deploys wireless networks that power everything from small businesses to some of the world's most complex, high-demand environments.
- Learn how to set up your development environment and Android device for testing and debugging over an Android Debug Bridge (ADB) connection.


 | HP® Support")

