Garage Door Opener Installation: A Step-by-Step Guide
Installing a garage door opener can seem like a daunting task, but with the right guidance, it can be a DIY-friendly project. In this article, we will walk you through the process of installing a garage door opener, including the necessary tools, time, Wi-Fi, and assembly steps required for different opener models.
Assessing Your Garage Door
Before starting the installation process, it's essential to assess your garage door and select the right type of opener for your needs. Consider the size and weight of your garage door, as well as any additional features you may require, such as Wi-Fi connectivity or battery backup.
Tools and Materials Needed
- Garage door opener unit
- Mounting hardware
- Power cord
- Remote control
- Programming guide
- Socket set
- Torx driver
- Level
- Tape measure
Step 1: Prepare the Area
Before starting the installation process, ensure the area around the garage door is clear and level. Remove any obstructions, such as furniture or tools, and check the garage door's balance and alignment.
Step 2: Assemble the Opener Unit
Follow the manufacturer's instructions to assemble the opener unit. This typically involves attaching the motor unit to the mounting hardware and connecting the power cord.
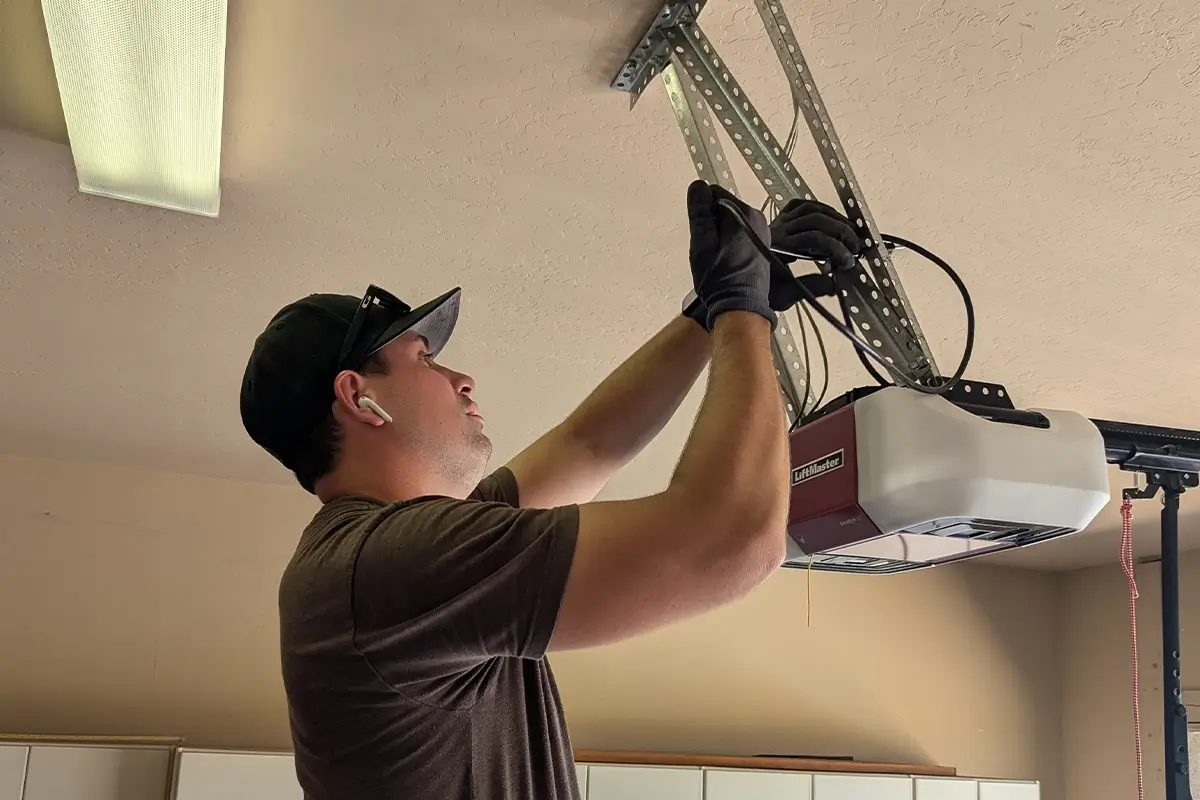
Step 3: Install the Opener Unit
Mount the opener unit to the garage door's ceiling, ensuring it is level and securely attached. Use the provided mounting hardware and follow the manufacturer's instructions for proper installation.
Step 4: Install the Remote Control
Program the remote control according to the manufacturer's instructions. This typically involves pairing the remote to the opener unit and setting any desired settings, such as speed or sensitivity.
Step 5: Test the Opener
Thoroughly test the garage door opener to ensure it is working smoothly and safely. Check for any issues with the opener's performance, such as unusual noises or vibrations.
Common Garage Door Opener Issues
After installation, you may encounter common issues with your garage door opener. Some of these issues include:
- Uneven or unbalanced garage door
- Loose or worn-out mounting hardware
- Incorrectly set speed or sensitivity
- Malfunctioning remote control
Troubleshooting Tips
Here are some troubleshooting tips to help you resolve common garage door opener issues:
- Check the garage door's balance and alignment
- Inspect the mounting hardware for wear or damage
- Adjust the speed or sensitivity settings
- Reset or reprogram the remote control
Conclusion
Installing a garage door opener can be a DIY-friendly project, but it's essential to follow the manufacturer's instructions and take necessary safety precautions. By following the steps outlined in this article, you can ensure a safe and smooth installation process. If you encounter any issues or concerns, don't hesitate to seek professional assistance.
Additional Resources
For more information on garage door opener installation, including tutorials and support guides, visit the following websites:
FAQs
Here are some frequently asked questions about garage door opener installation:
- Q: How long does it take to install a garage door opener? A: Installation time can vary depending on the complexity of the installation and the individual's level of experience. Typically, it takes around 2-4 hours to install a garage door opener.
- Q: What tools do I need to install a garage door opener? A: You will need a socket set, Torx driver, level, tape measure, and other basic tools to install a garage door opener.
- Q: Can I install a garage door opener myself? A: Yes, you can install a garage door opener yourself, but it's essential to follow the manufacturer's instructions and take necessary safety precautions.


")


