Garden Sprinkler System Installation Designs: A Comprehensive Guide
Introduction
A well-designed and installed garden sprinkler system is essential for maintaining a lush and thriving lawn and garden. With the right design and installation, you can ensure that your garden receives the perfect amount of water at the right time, promoting healthy growth and reducing water waste. In this article, we'll delve into the world of garden sprinkler system installation designs, exploring the various components, factors to consider, and tips for a successful installation.Understanding the Basics of Garden Sprinkler System Installation Designs
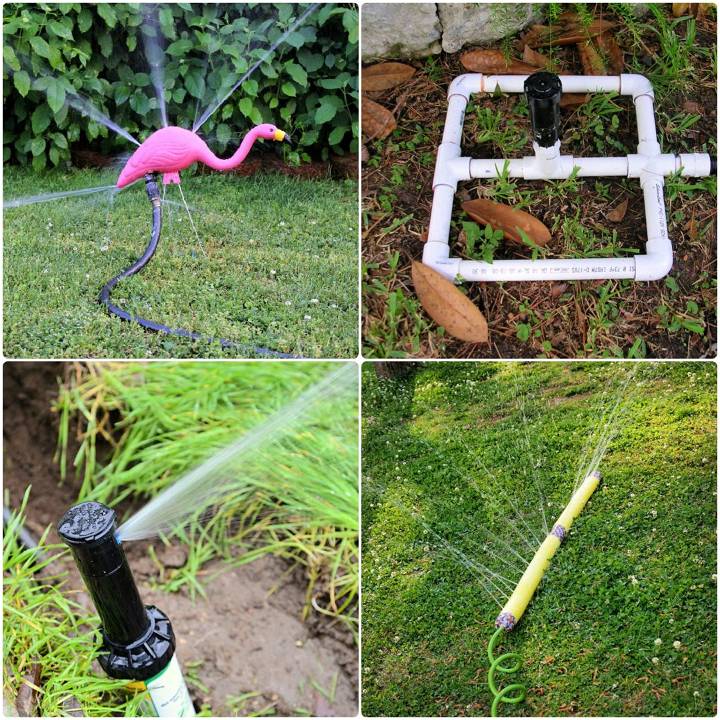
A typical garden sprinkler system consists of several key components, including:- Sprinkler heads: These are the devices that distribute water throughout the garden, and come in various shapes, sizes, and types.
- Zone valves: These control the flow of water to specific sections of the garden, allowing for more efficient watering.
- Pipe and fittings: These are used to connect the sprinkler heads and zone valves, and come in a range of materials and sizes.
- Controller: This is the brain of the system, responsible for scheduling watering times and distributing water to the various sprinkler heads.
- Yard size and shape: A larger yard requires more sprinkler heads and a more complex system.
- Slope and drainage: Areas with high slopes or poor drainage require specialized irrigation systems and design considerations.
- Plant type and density: Different plants require varying amounts of water, so it's essential to design the system with these needs in mind.
- Climate and weather patterns: Systems installed in areas with high winds or heavy rainfall may require additional features, such as weather-resistant components and overflow protection.
Designing a Garden Sprinkler System
- Assess the yard: Determine the size, shape, and slope of the yard, as well as the location of plants, pathways, and other features.
- Choose a controller: Select a controller that can schedule watering times and distribute water to the various sprinkler heads.
- Select sprinkler heads: Choose sprinkler heads that are suitable for the yard's slope and drainage conditions.
- Plan the pipe and fitting layout: Determine the most efficient route for the pipes and fittings to connect the sprinkler heads and zone valves.
- Install the system: Follow the manufacturer's instructions for installing the controller, sprinkler heads, zone valves, and pipes.
Installing a Garden Sprinkler System
Once the design is complete, it's time to install the system. This involves:- Preparing the yard: Mark out the areas where the sprinkler heads and pipes will be installed.
- Digging trenches: Dig trenches for the pipes and connect the zone valves and sprinkler heads.
- Installing the pipes and fittings: Use the preferred pipe and fitting material to connect the zone valves and sprinkler heads.
- Connecting the sprinkler heads: Attach the sprinkler heads to the pipes and configure the system for optimal watering.
- Testing the system: Test the system to ensure that it's functioning correctly and efficiently.


