Understanding Ceiling Fan Installation Replacement: A Comprehensive Guide
Adding indoor comfort and style to your home can be achieved with a ceiling fan installation. Whether you are upgrading to a new fan or replacing an old one, it's essential to know the step-by-step process of ceiling fan installation replacement. In this comprehensive guide, we will walk you through the process, highlighting the importance of ceiling fan installation replacement, the different types of ceiling fans available, and the steps to install a new ceiling fan.
Why Ceiling Fan Installation Replacement Is Necessary
Over time, ceiling fans can become worn out, lose their functionality, or even stop working altogether. Replacing an old or non-functional ceiling fan is essential to maintain indoor comfort and style. A ceiling fan installation replacement can also enhance the overall aesthetic appeal of a room, making it more visually appealing and modern. Additionally, updating to a new ceiling fan can increase energy efficiency and reduce energy costs.
Types of Ceiling Fans
There are various types of ceiling fans available in the market, each with its unique features and design. Some of the popular types of ceiling fans include:
- Countertop fans
- Wall-mounted fans
- Hunter fan
- Wooden fan
- Crystalline fan
- Mini fans
Step-by-Step Ceiling Fan Installation Replacement Guide
Here is a step-by-step guide on how to replace a ceiling fan:
Step 1: Prepare the Area
Before starting the installation, turn off the power to the ceiling fan circuit at the main electrical panel. Remove any lighting fixtures or shades to access the ceiling fan.
Step 2: Remove the Old Fan
Take down the old ceiling fan by unscrewing the mounting screws and gently pulling it away from the ceiling. Be careful not to damage the ceiling or the electrical wiring.
Step 3: Check and Install the New Fan Mounting Bracket
Remove the old fan mounting bracket and inspect the ceiling for any damage or worn-out parts. Install the new fan mounting bracket according to the manufacturer's instructions.
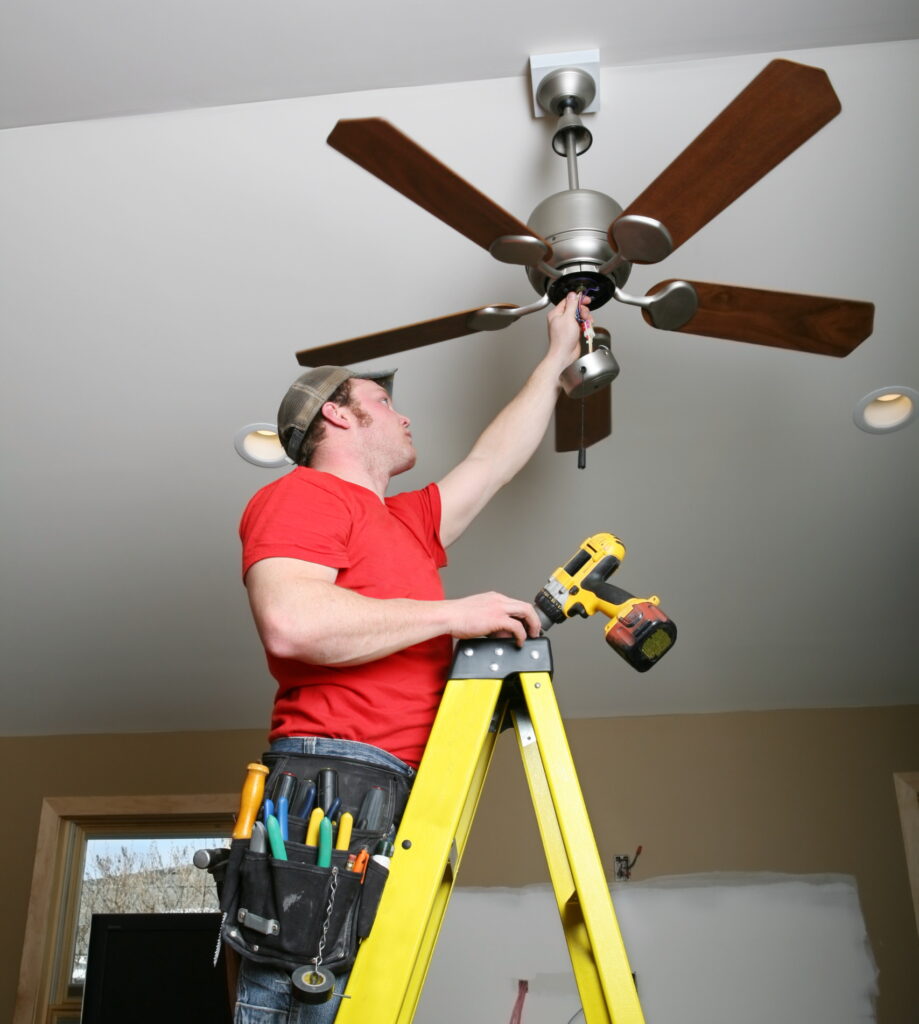
Step 4: Install the New Fan
Mount the new ceiling fan on the mounting bracket, ensuring it is securely fastened. Connect the electrical wiring to the ceiling fan and test it to ensure it's working correctly.
Step 5: Add Light Lighting (Optional)
If your new ceiling fan has a light kit, follow the manufacturer's instructions to install the light kit. Make sure to test the light to ensure it's working correctly.
Step 6: Install the Fan Blades
Attach the fan blades to the fan motor hub, ensuring they are securely fastened. Adjust the blades to the desired angle and test the fan to ensure it's working correctly.
DIY Ceiling Fan Installation: What You Need to Know
Installing a ceiling fan is a DIY-friendly project that can be completed in a few hours. However, if you are not comfortable with heights or electrical work, it's recommended to hire a professional electrician. Before starting the installation, ensure you have the necessary tools and materials, including a ladder, electrical wire, and a voltage tester.
Benefits of Ceiling Fan Installation Replacement
Replacing an old or non-functional ceiling fan can bring numerous benefits to your home, including:
- Improved indoor comfort and style
- Increased energy efficiency
- Reduced energy costs
- Enhanced aesthetic appeal
- Improved air circulation
Conclusion
Replacing a ceiling fan is a straightforward process that can be completed with the right tools and materials. In this comprehensive guide, we have walked you through the step-by-step process of ceiling fan installation replacement, highlighting the importance of upgrading to a new ceiling fan, the different types of ceiling fans available, and the benefits of ceiling fan installation replacement. If you are unsure about the installation process or have any concerns, it's always recommended to hire a professional electrician to ensure a safe and successful installation.


